Tip: Adding Pictures to Your Post
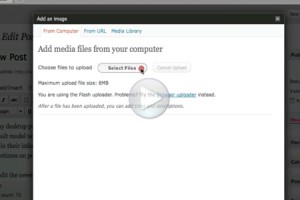
Here are some tips, plus a video tutorial and step-by-step instructions, below…
TIP #1:
Find our own photos and images (mostly taken with the iPhone or iPad)
This is a temporary storage place. Once you find the photo you need, hold down the control key and click on the photo to save it to your desktop, then upload it to the blog using the instructions below.
TIP #2:
If you use an image from the web, download it (control+click to save it to your desktop), then upload it to the blog. That way, it will be a permanent part of our blog.
TIP #3:
Not sure where your image really came from? Use TinEye to find out! TinEye lets you upload an image or insert its URL and find all the same or similar images across the web.
TIP #4: Adding an Image from Your Computer
To add a picture to your post:
- Save the picture you want to your project folder.
- Log in to our blog with your user name and password.
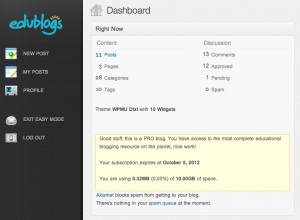
- Activate Easy Mode by clicking the button in the upper right corner:

- Click New Post to start something new, or if you want to edit a post you already started, click My Posts then click the post you want to edit.
- Put the cursor near where you want the image, then click the button next to “Upload/Insert”

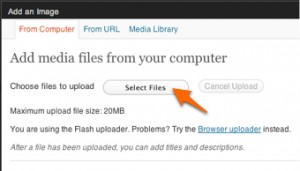
- Click Select Files, next to Choose files to upload.
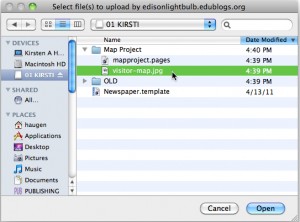
- Navigate to your project folder, then to your image, then click Open:
- You’re almost done! Need more help?

Leave a Reply